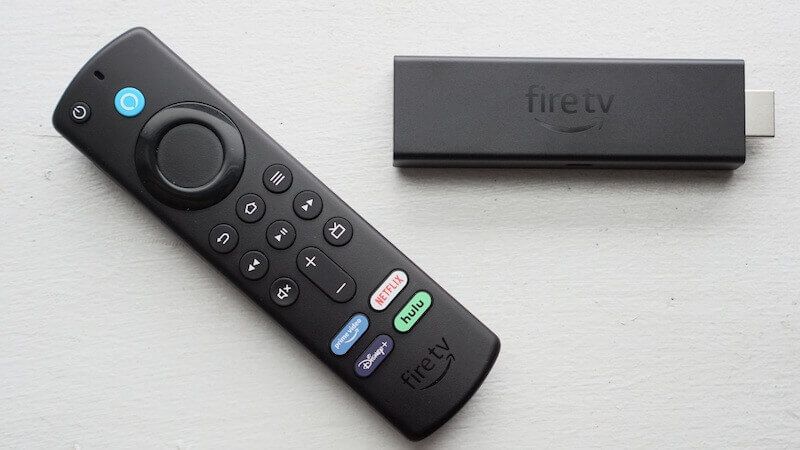
So you’ve just got your first Firestick and you want to install Kodi. This guide will show you how to install Kodi and make a few settings changes to make future use easier. I’ll try and make it as easy as possible for you.
Don’t let your ISP have a record of what you are viewing and keep yourself safe online. Get yourself a VPN to stay protected online. Click the image below to find good deals from NordVPN.
- Launch your Firestick
- Go to Settings
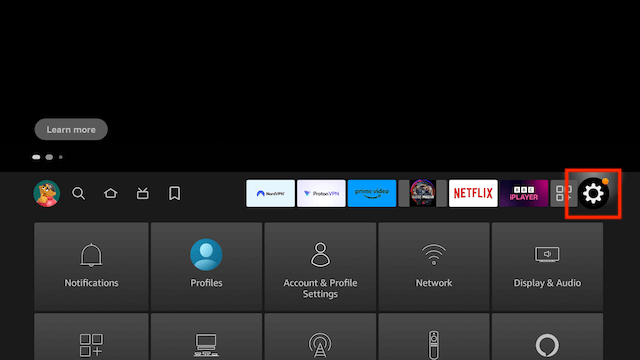
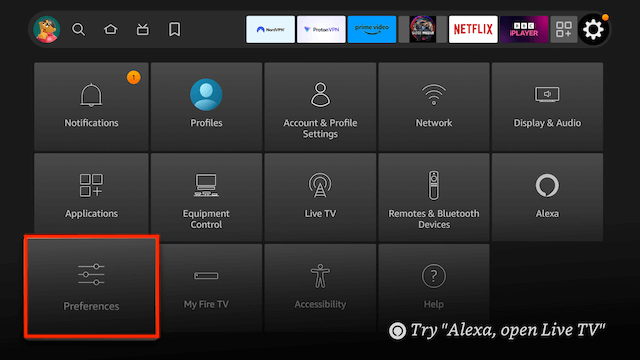
- Select Preferences
- Select Privacy Setttings
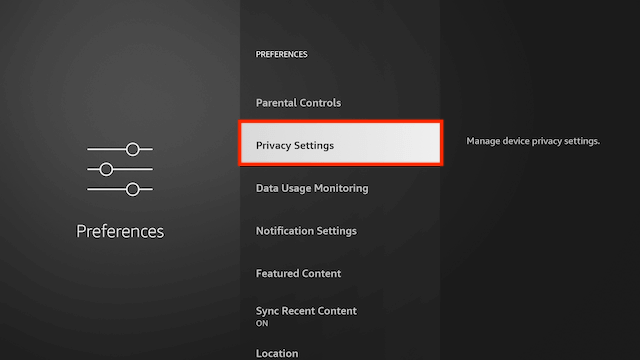
- Turn off all 3 items in here
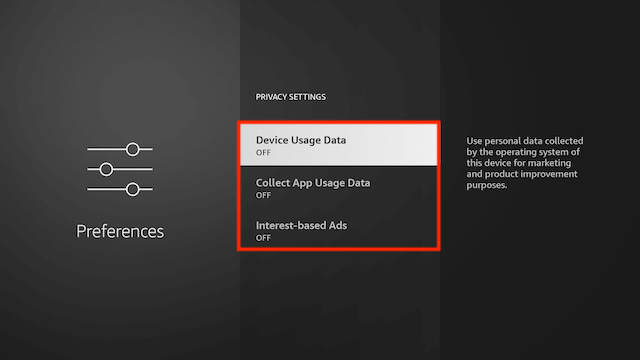
- Click back on your remote
- Select Data Usage Monitoring
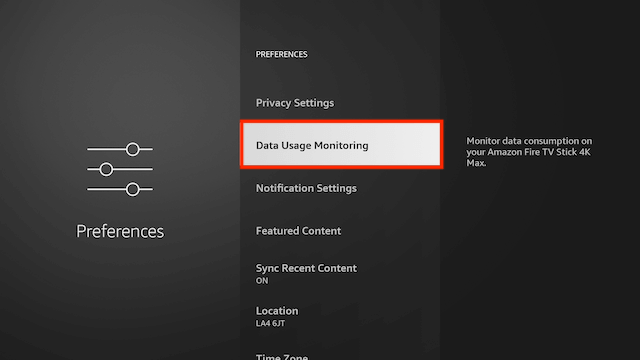
- Turn off Data Usage Monitoring
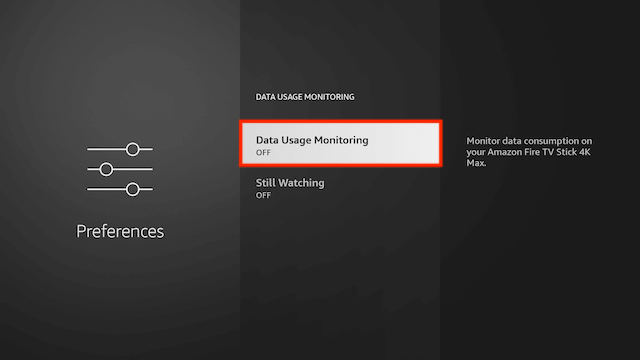
- Click back on your remote
- Select My Fire TV
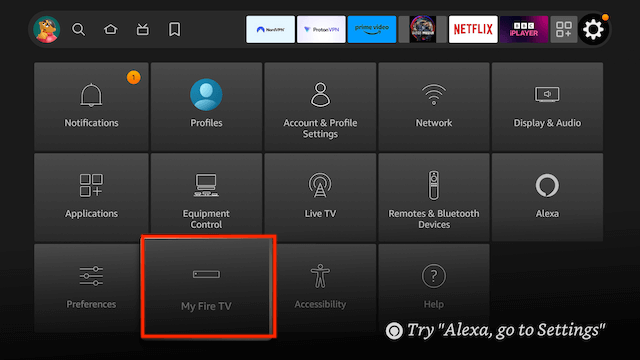
- Select About
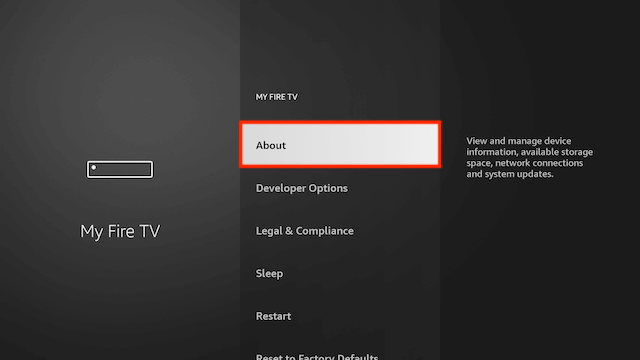
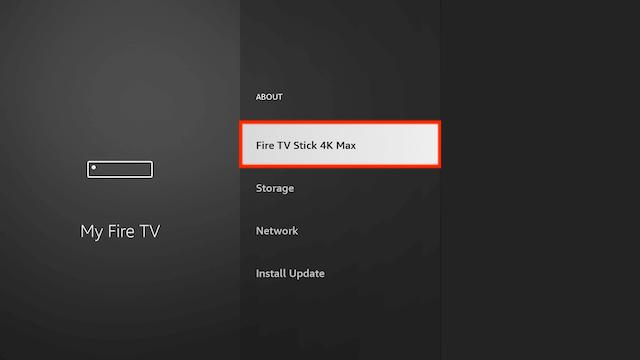
- You will now see the name of your Fire TV Device at the top. Click on it 7 times until it says you are a developer (this will allow you to allow/disallow unkow apps later)
- Click back on your remote and go to your Home Screen
- Use your remote to highlight the Search icon and then press down on your remote to highlight the Search Function
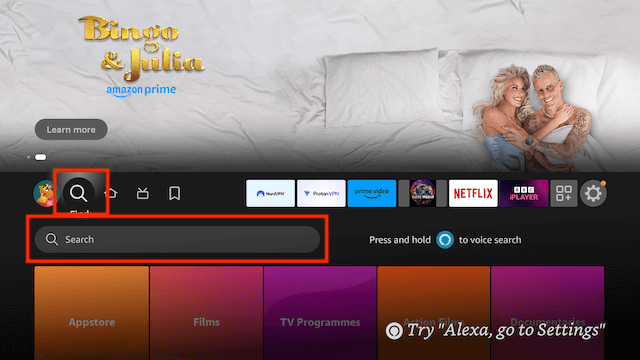
- Now click on Search. We are going to install Downloader here. This is one of the best apps for your Fire TV devices as you can sideload any 3rd party apps not available in the Amazon store in no time at all.
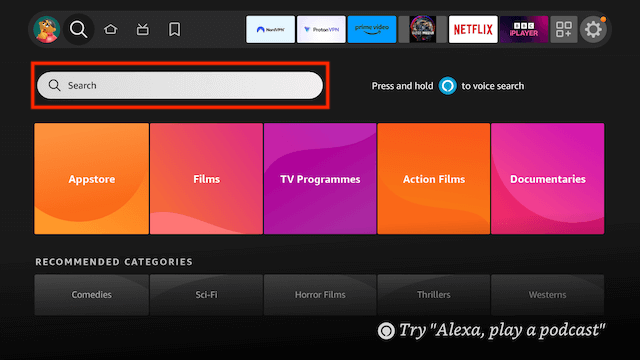
- Start typing Downloader until you see Downloader appear underneath
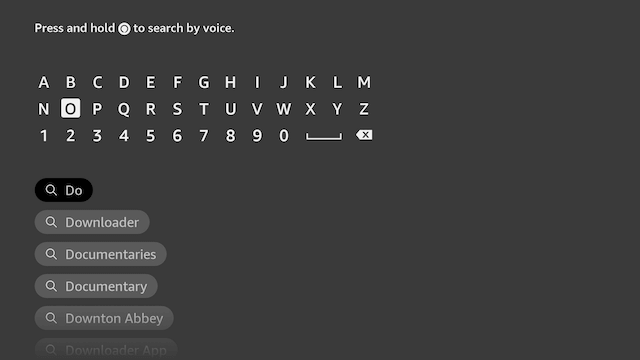
- Select Downloader
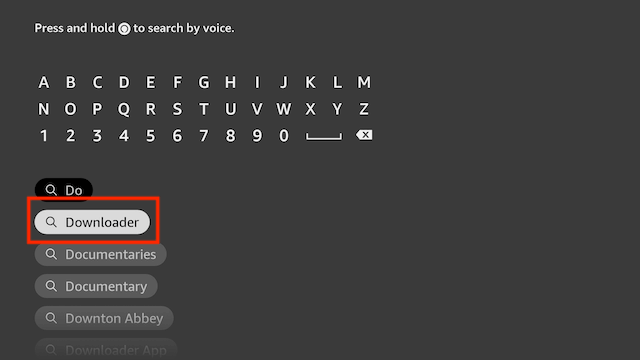
- Select Downloader
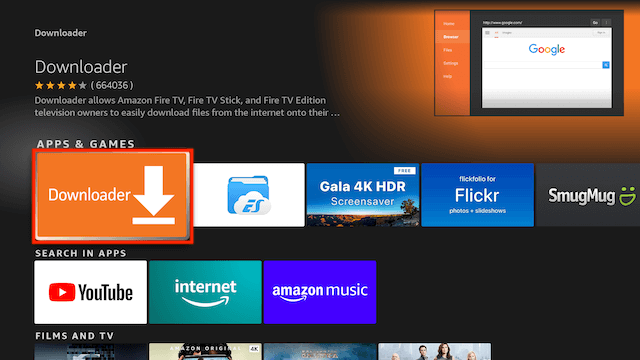
- Select Download
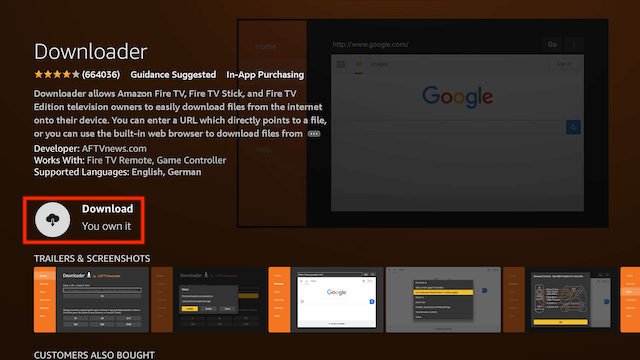
- Select Open
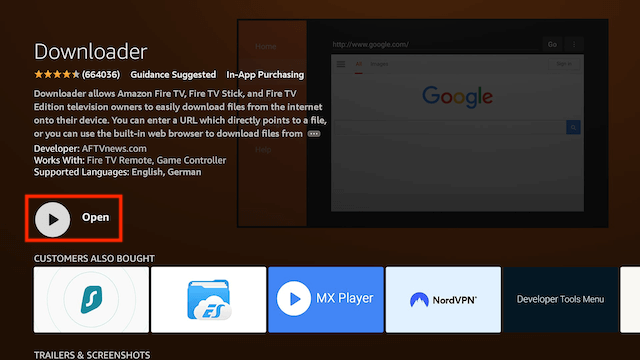
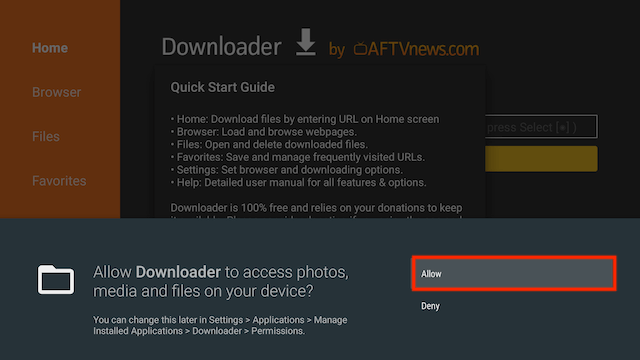
- Select Allow
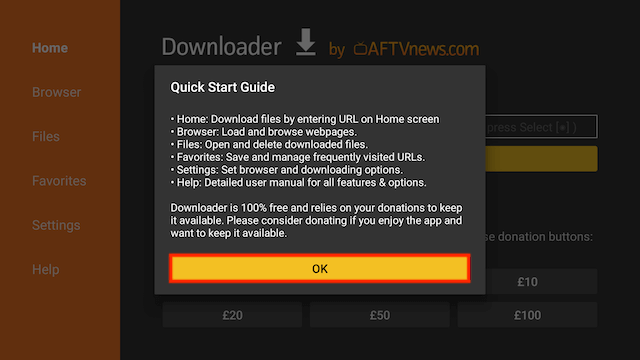
- Select OK
- You will now see the following screen
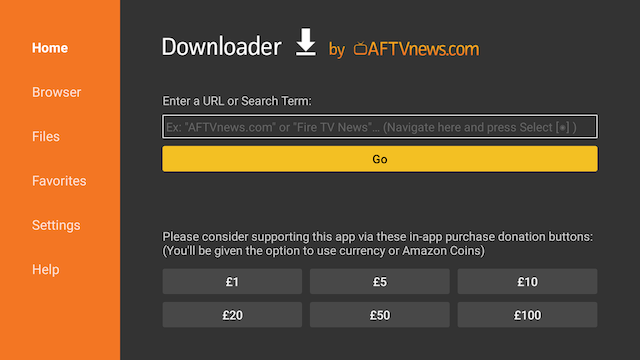
- Use your remote to highlight the Enter a URL or Search Term: section
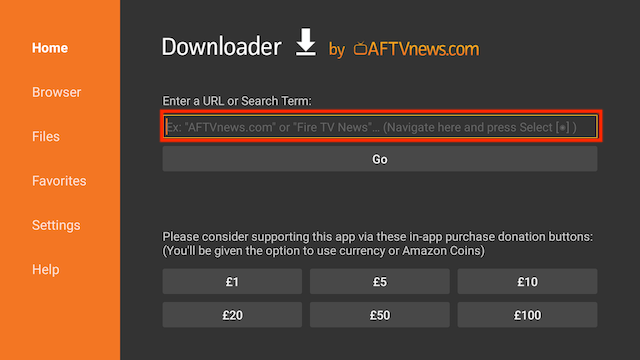
- Click it so you see the following screen
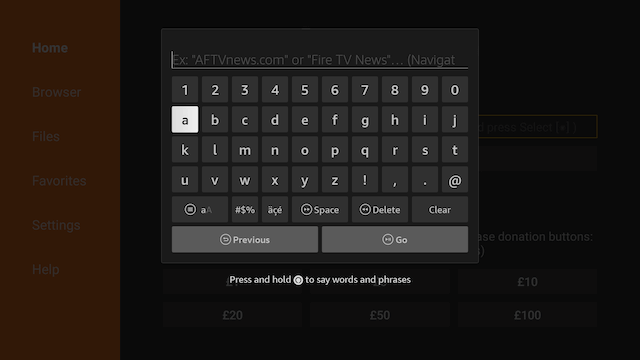
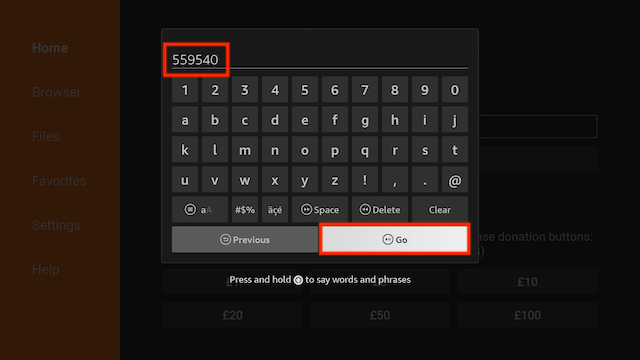
- Enter the following code
559540and then click Go
- The file will start to download
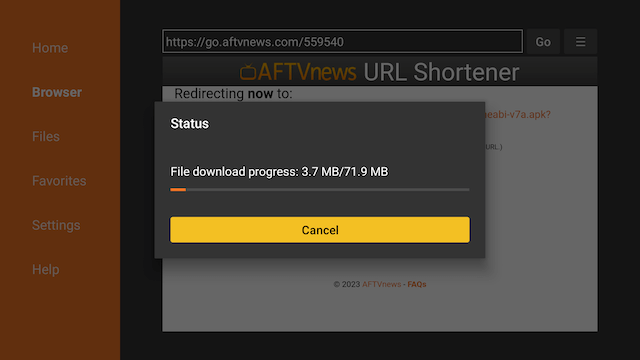
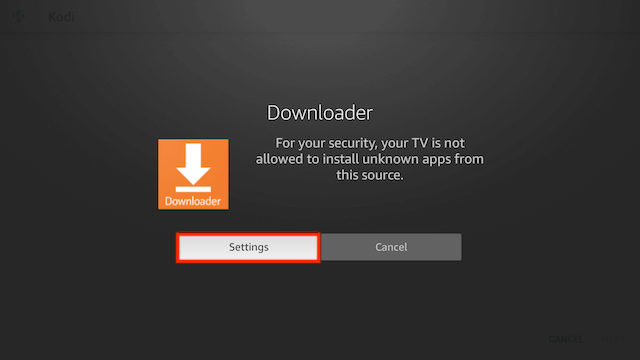
- The file will try to install but will not be allowed because of unknown apps being blocked. Just click on Settings
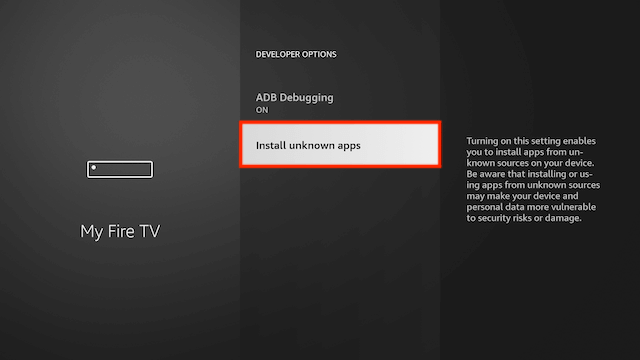
- Select Install unknown apps
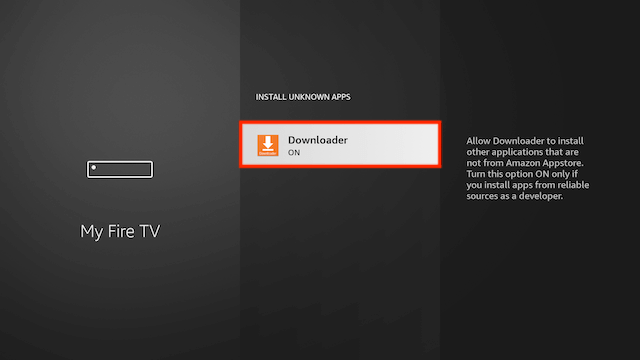
- Click on Downloader so it turns from Off to On. You will never be asked to do this again when you use the Downloader app now that it is turned on.
- Now click back twice on your remote and you should see the following screen. Select Install again
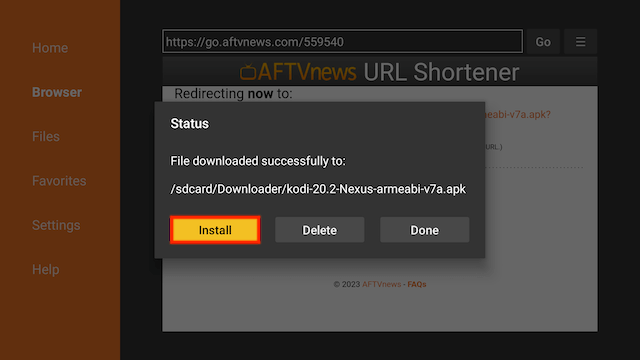
- You will be asked if you want to install it. Select INSTALL
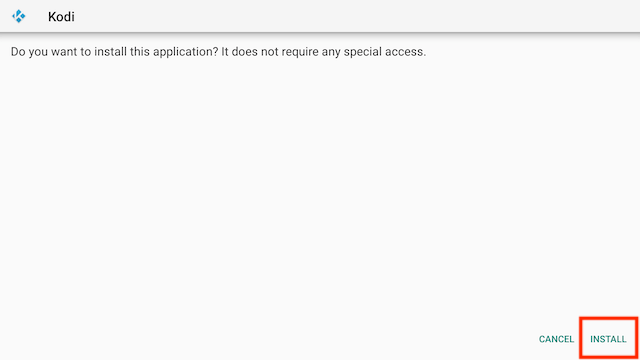
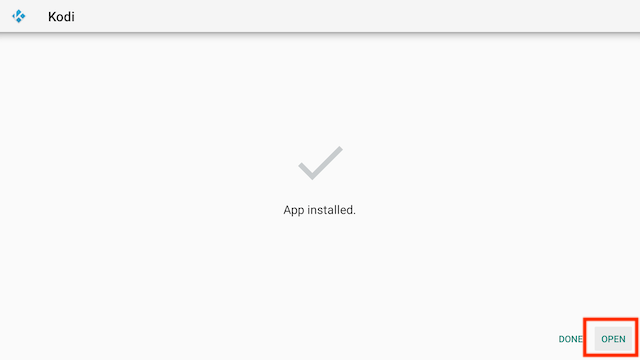
- Kodi is now installed. Select Open and we’ll make a change or two to make it easier for later use
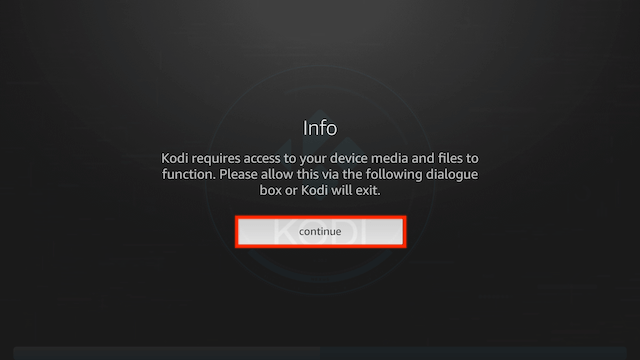
- Select Continue when Kodi first starts
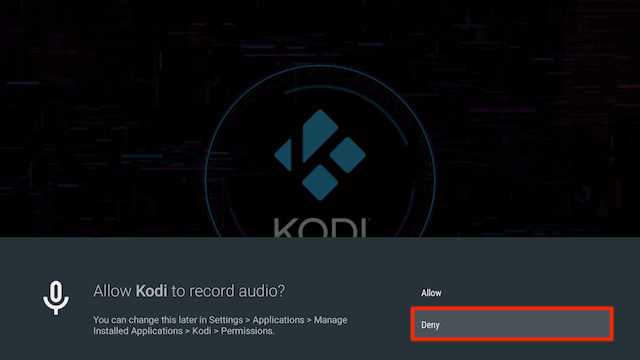
- Select Deny on the first one as you don’t need Kodi recording your audio
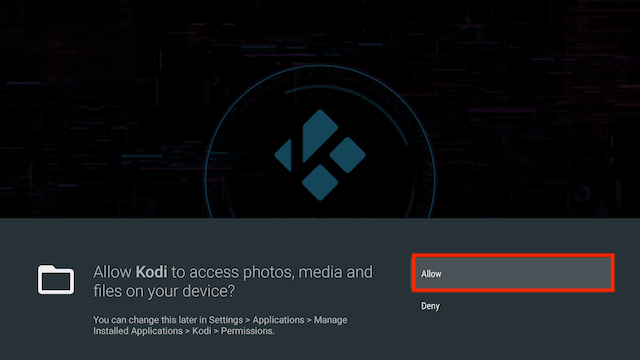
- Select Allow for access to photos, media and files
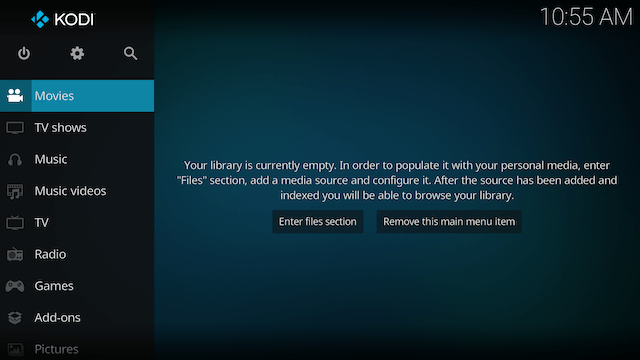
- So Kodi will look like this on the first start
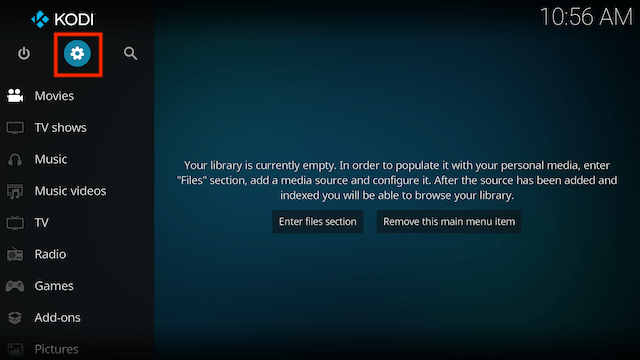
- Select Settings (the cog at the top)
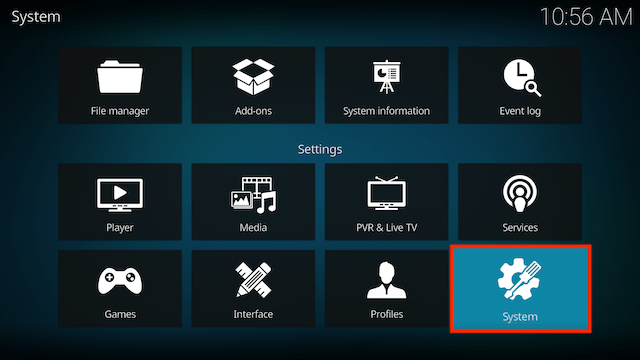
- Select System
- Scroll to the bottom of the left hand panel and click on Standard until it says Expert
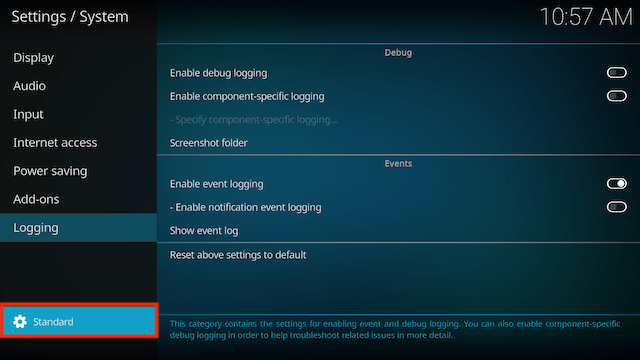
- Now select Add-ons from the left hand menu
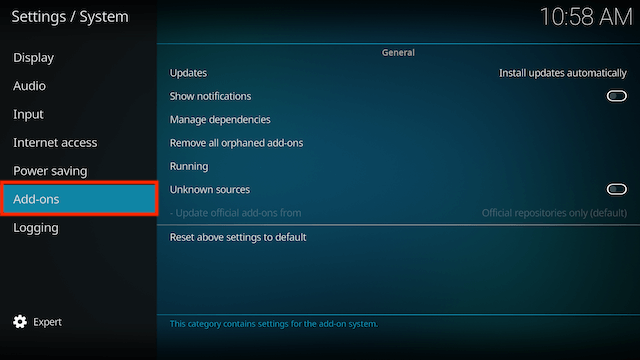
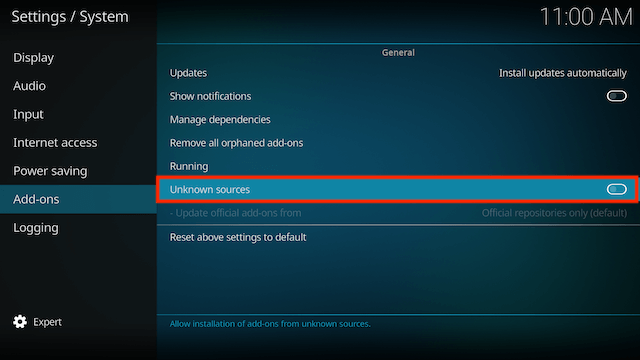
- In the right hand menu turn on Unknown sources
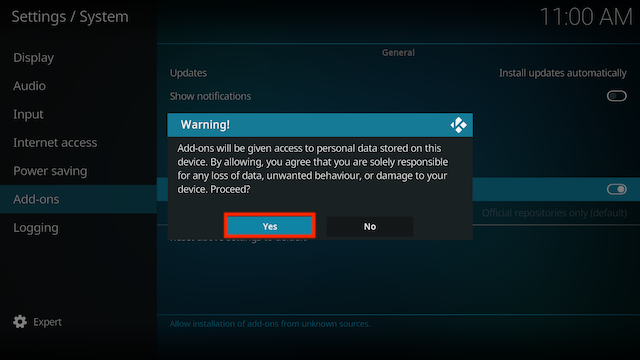
- Select Yes when you receive the unknown sources warning
- In the same panel scroll up to Updates and click on it
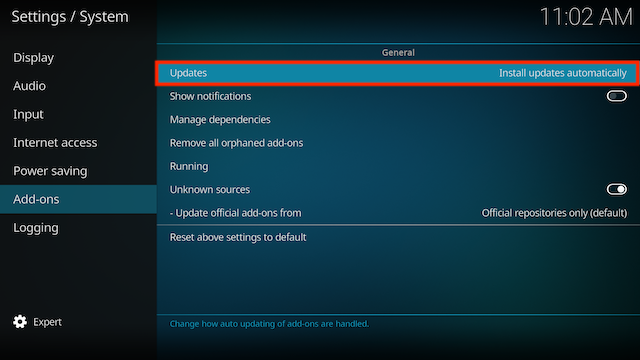
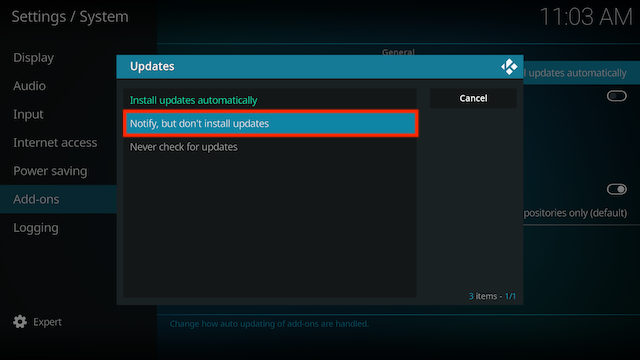
- Select Notify, but don’t install updates. This allows you to choose which updates you want to install whenever udpates are available
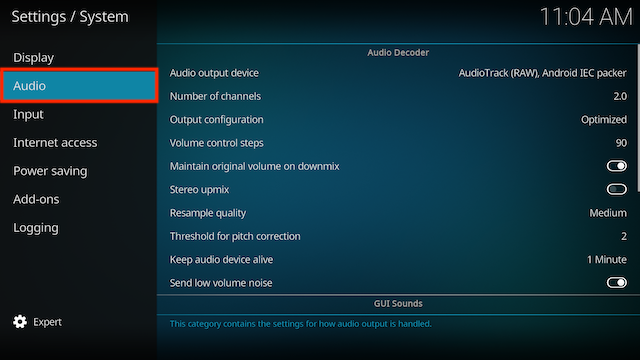
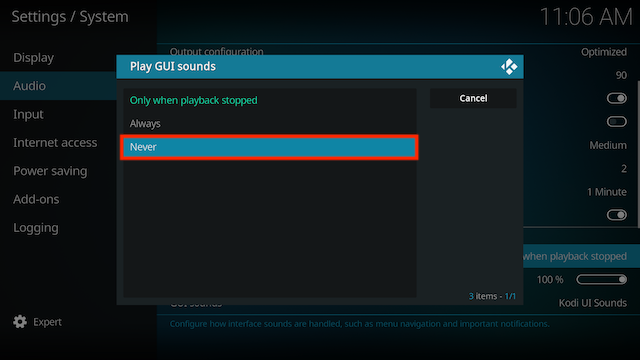
- This step is optional but I hate the click sounds on Kodi so I disable them. The choice is yours. If you want to turn then off select Audio in the left hand menu
- In the right hand menu click on Play GUI sounds
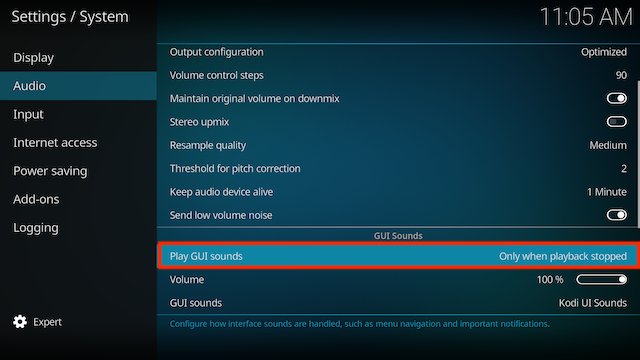
- Select Never
-
That is your basic setup complete
-
Now I’d recommend getting yourself a VPN and Real-Debrid for use with your Kodi setup. You can get either of these from the following links
-
For guides on installing some great add-ons just go back to my home page and look through some of the installation guides I have available
