Below is a guide for installing the Future 20 build for Kodi. This is a 3rd party build so please do not post questions on the official Kodi forums relating to this build.
Don’t let your ISP have a record of what you are viewing and keep yourself safe online. Get yourself a VPN to stay protected online. Click the image below to find good deals from NordVPN.


How to Install Future 20 Build for Kodi
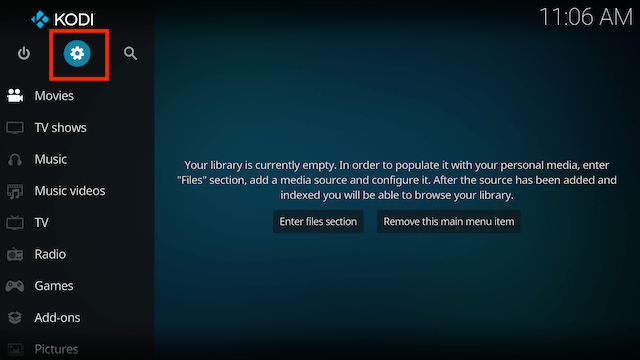
- Open Kodi
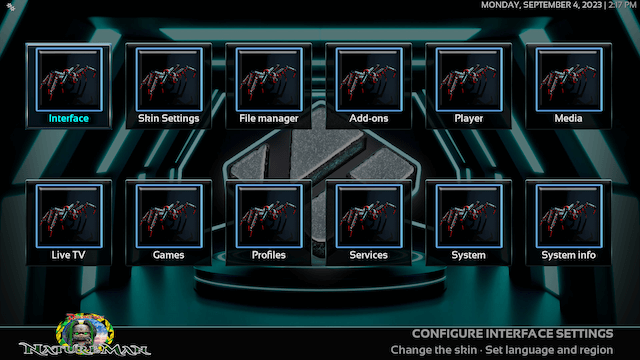
- Select Settings (cog icon top left)
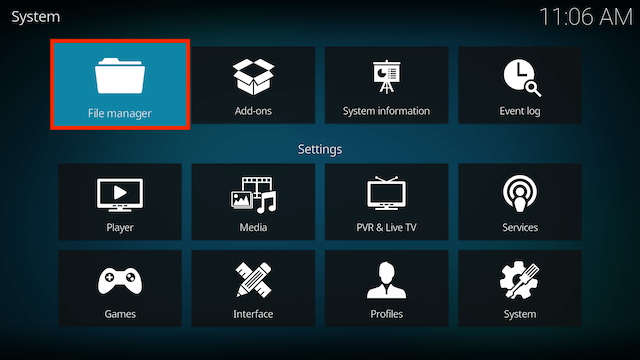
- Select File Manager
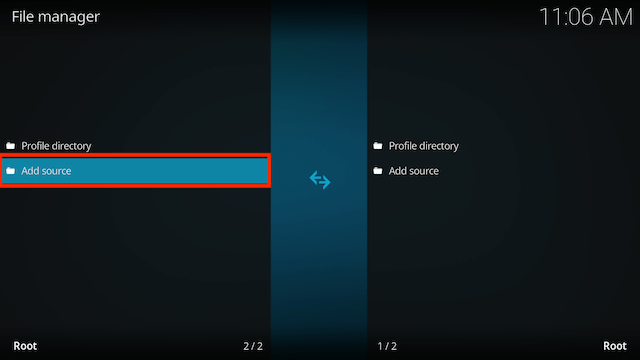
- Select Add Source
- Select None
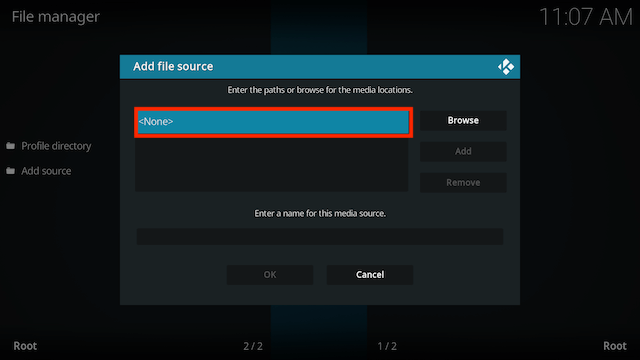
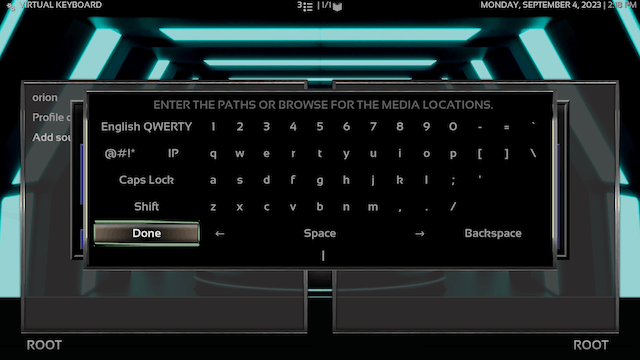
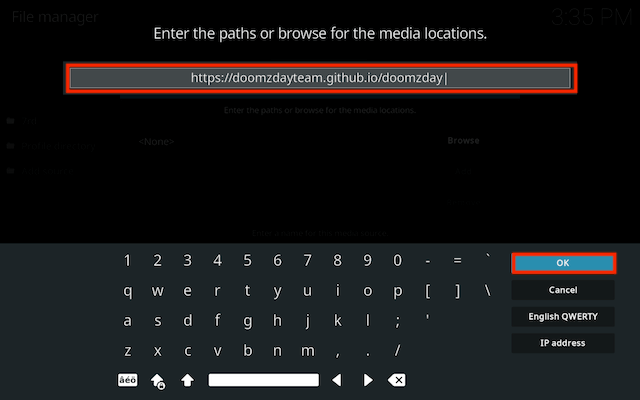
- Type the following EXACTLY
https://doomzdayteam.github.io/doomzdayand select OK
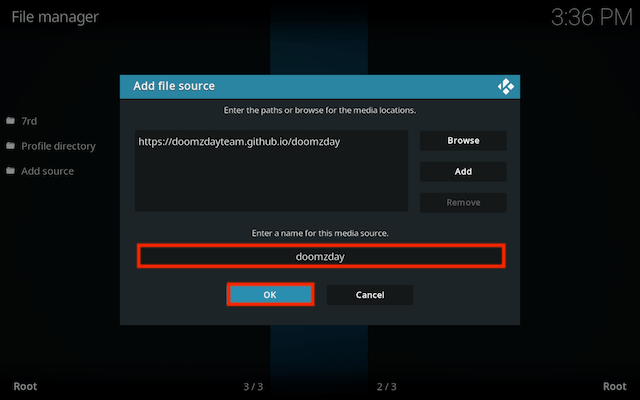
- Click the box underneath marked Enter a name for this media source. Type doomzday (it should already say it) then click OK
- Click back on your remote/keyboard
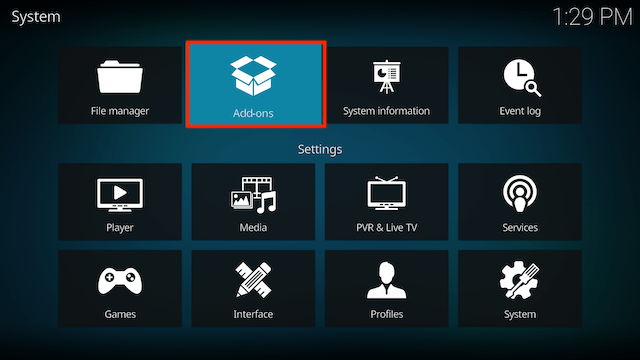
- Select Add-ons
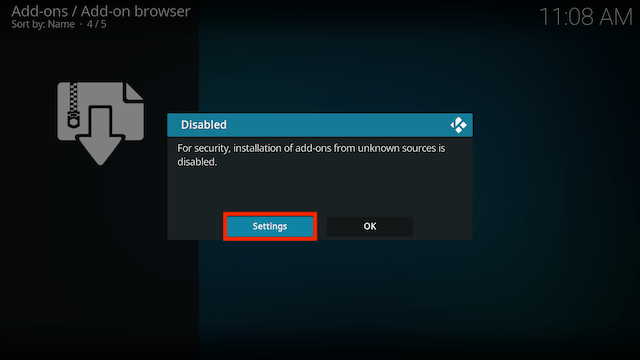
- Select Install from zip file

- If you are doing this on a fresh install you will see a message saying this has been disabled. Just keep following the guide and we’ll fix that. If you already have installing from zip files (unknown sources) enabled just skip the next 4 steps
- Click on Settings
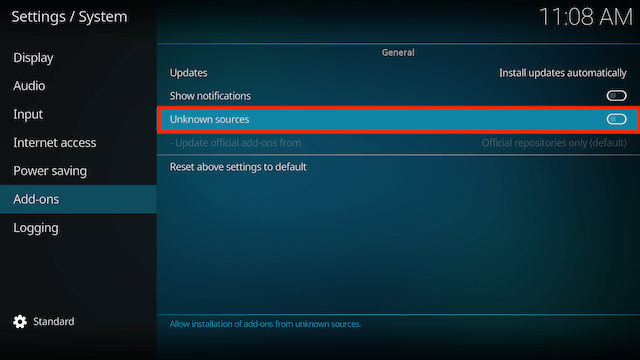
- Turn on Unknown sources
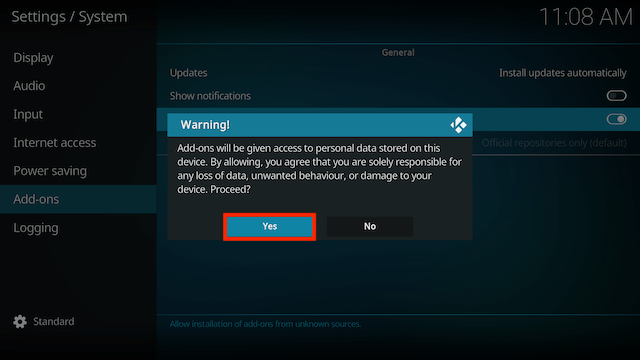
- Select Yes
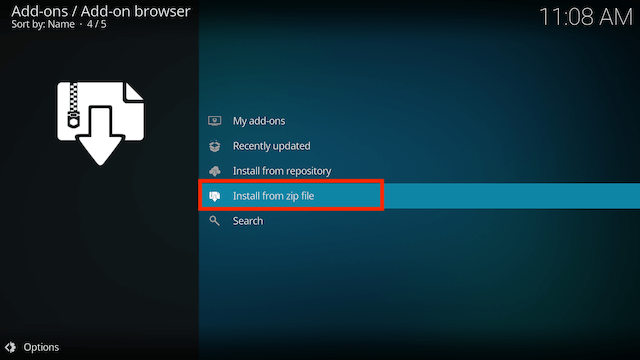
- Press back once your remote/keyboard and select Install from zip file again
- Select doomzday

- Select repository.doomzday-x.x.x.zip

- Wait for the Add-on enabled notification
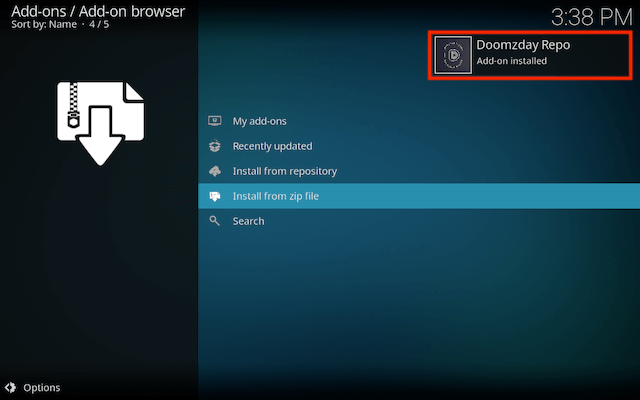
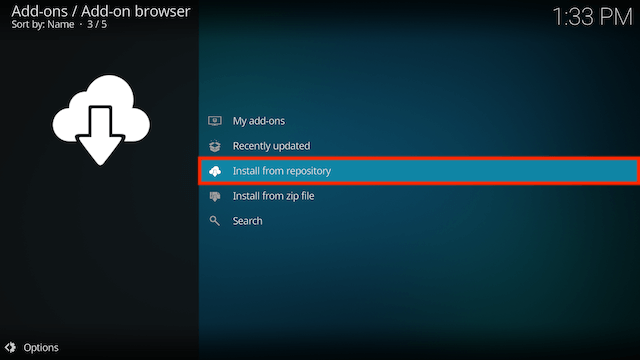
- Select Install from Repository
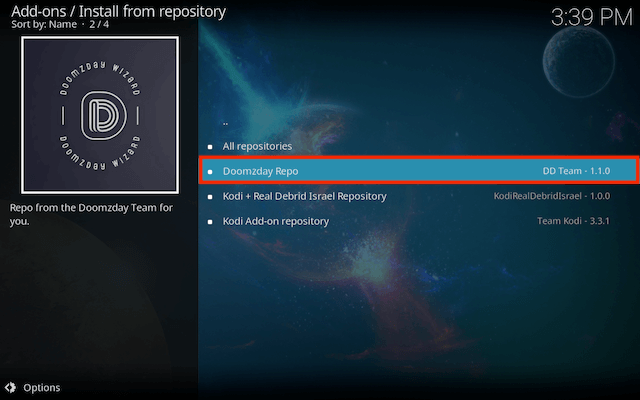
- Select Doomzday Repo
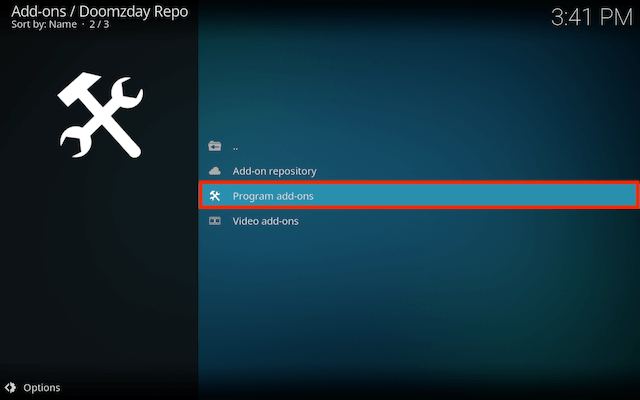
- Select Program add-ons
- Select Doomzday Simple Wizard
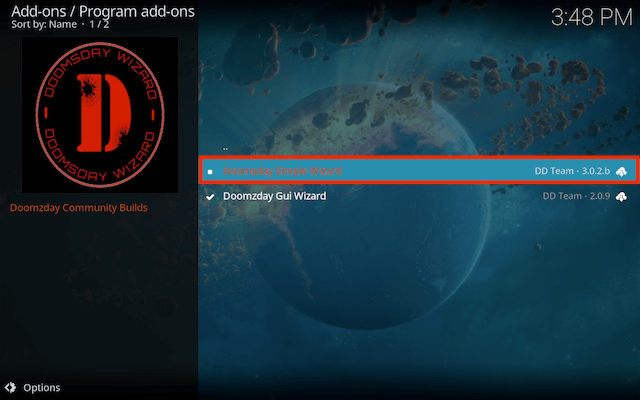
- Select Install

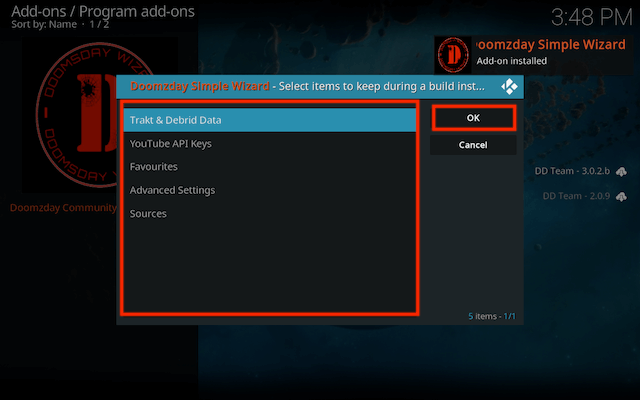
- Wait for Add-on installed notification
- You will now see a popup regarding settings. You can select any you wish to save and then click **ok
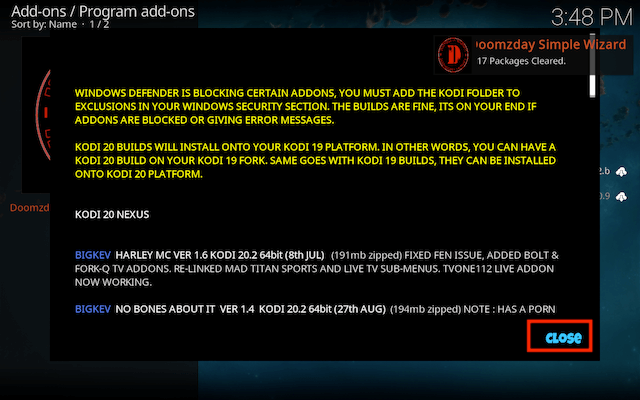
- Now select Close in the next window
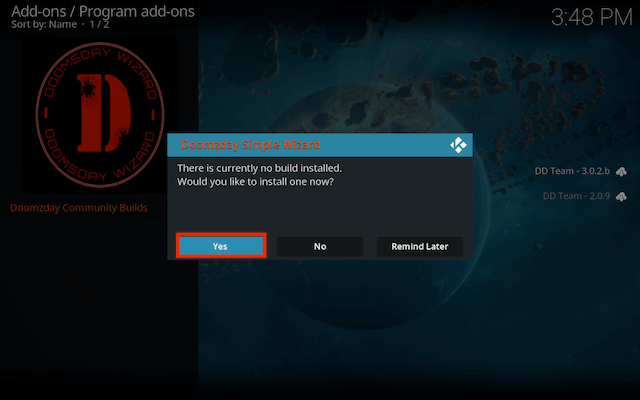
- You should get a message saying there is no build installed. Select Yes
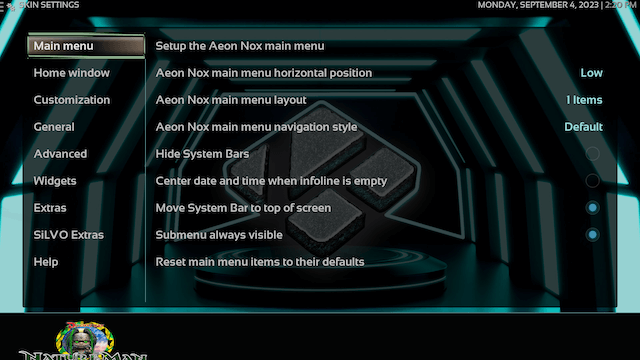
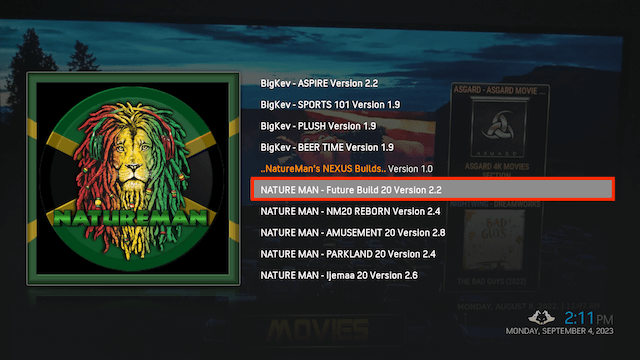
- Scroll down and select NATURE MAN Future 20
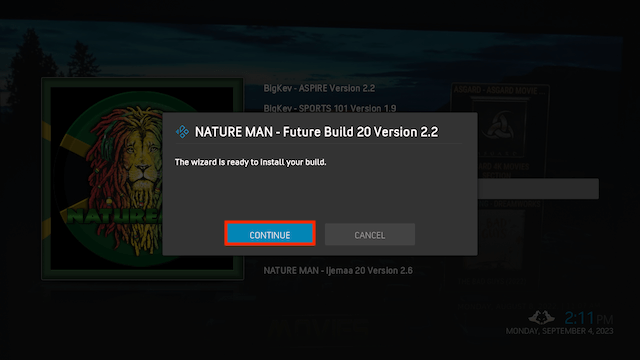
- Select Continue
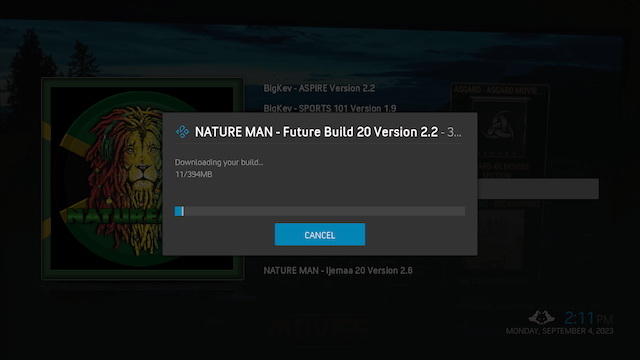
- The build will now download and install
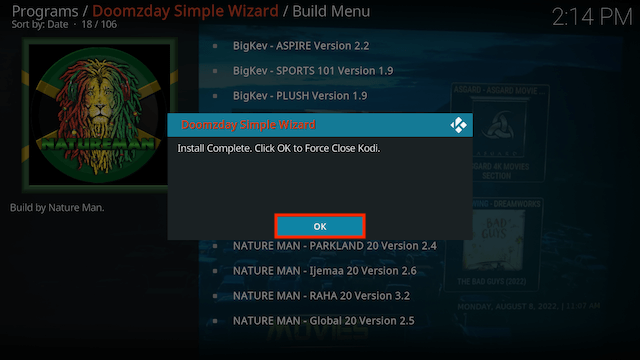
- Press OK to force close Kodi
- Restart Kodi. Leave it for a few minutes. Go make a brew, get a glass of wine or whatever and let any updates complete
Legal Disclaimer: This tutorial is purely educational. Seo-Michael.co.uk doesn’t own, host, operate, resell, or distribute any streaming apps, addons, websites, IPTV or services. The page contains some unverified services, and we are not certain whether they hold legal licenses to distribute the content. Seo-Michael.co.uk does not verify the legality of each app/service in all regions. Do your due diligence if you use any of the unverified apps/services, and stream only content that is available in the public domain. The end-user shall be solely responsible for the media accessed.