Here is a guide for the installation and setup of the Renegades Sky EPG on your Kodi / XBMC device.
The Renegades have a Facebook Group – XBMC- Help and General Info for all Platforms ..The Renegades – which is a secret group so if you would like to join you would need to PM the admins. The guys you need to PM are Roger or Antony.
A big thanks to Antony, Roger and of course rayw1986 whose FTV Guide has been used for creating this. In the original guide the setup is done on a box so a couple of files are put on a USB stick. I am doing this on a Mac so this will not be in the guide. I am hoping that as I am adding the path you need to delete/add necessary files you will have no issues. But if you do then please feel free to ask.
Once setup you are in for a treat. It’ll take a lot of work but it’ll be worth it in the end.
So if you are ready get yourself comfortable as it is not a short process.
First we need to show hidden files on your device as we will need this later
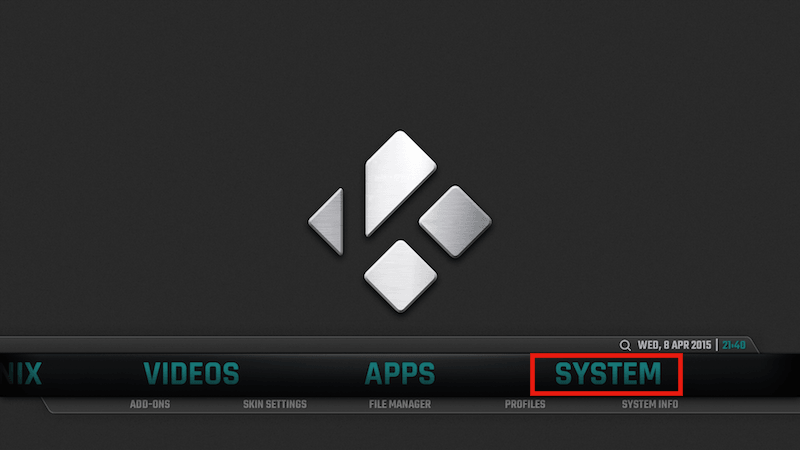
- Select SYSTEM
- Select Appearance
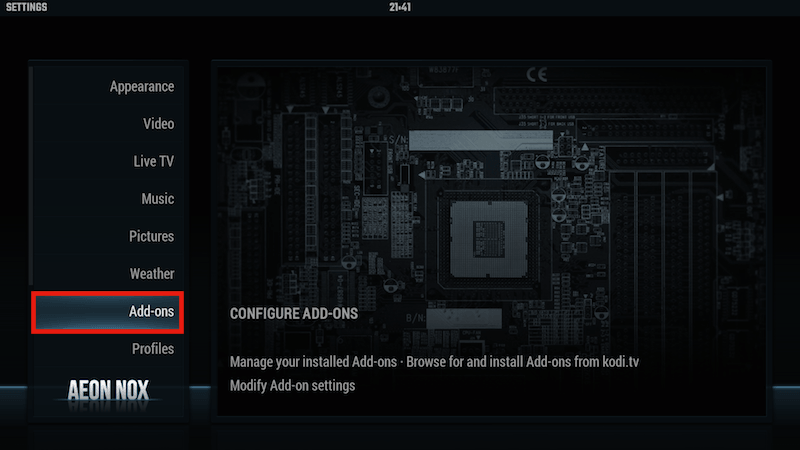
You may need to change your settings level here. If you see Basic then click it

- Your Settings Level should now be set as Standard. This opens the File Lists section above

- Select File Lists

- Turn on Show hidden files and directories

- Select SYSTEM > File Manager

- Select Add Source

- Select None

- Type the following – http://muckys.kodimediaportal.ml & select Done

- Select the box underneath Enter a name for this media Source

- Give the source a name. For this example I will call it MD Repo but you can name it anything

- Select OK

- Go back to your Home Screen & select SYSTEM

- Select Add-Ons

- Select Install from zip file

- Select MD Repo or whatever you named the source

- Select MDaddons

- Select plugin.video.mdwizard-1.0.7.zip

- Wait for Add-on enabled notification

- Go back to your Home Screen & select PROGRAMS

- Select Mucky Ducks Wizard

- Select CUSTOM FTV GUIDE

- Select INSTALL FTV GUIDE AND OTHER ADDONS REQUIRED & wait for the add-ons to install

- Select OK

- Reboot. Important or it won’t work
- Select PROGRAMS
- Select Mucky Ducks Wizard
- Select CUSTOM FTV GUIDE
- Select RENEGADES FIRST RUN SETTINGS

- Select YES

- Select OK

- Select the 2 dots at the top to go back a screen

- Select RENEGADES ADDONS2.INI UPDATE DAILY. Antony updates this daily, so it is recommended that you do this step each day to keep the INI file up-to-date.

- Select YES

- Select OK

- Select the 2 dots at the top to go back a screen

- Select RESET FTV DATABASE

- Select YES

- Select OK

- Go back to your Home Screen & select PROGRAMS

- Highlight – DO NOT SELECT – FTV Guide

- Open the Context Menu & select Add-on settings

- In Source select addons.ini file

A window will now open and you will need to navigate to the script.ftvguide directory. The location for this is different for each OS so I will add the path for each OS here
OS X:
Home folder > Library >Application Support > Kodi > userdata > addon_data > script.ftvguide
Windows:
press the back space button 3 times until you see your hard drive > C: > users > your user name > appdata > roaming > xbmc > userdata > addon_data > script.ftvguide
OpenELEC:
storage > .kodi > userdata > addon_data > script.ftvguide
Android:
External Storage > Android > data > org.xbmc.kodi > files > .kodi > userdata > addon_data > script.ftvguide
Linux:
~ > .kodi > userdata > addon_data > script.ftvguide
When you are in the script.ftvguide directory do the following
- Select addons2.ini

- Select OK

Installing the Channels
- Select PROGRAMS

- Select FTV Guide

Let TV Guide load
The easiest way to start assigning channels is by doing the following:
- Select a channel

- Select Choose stream

- Select Addons

- Scroll through the add-ons to find a suitable addon to use. The addons.ini file that has been created will only include the add-ons that you have downloaded using this guide.

- Scroll through the channel list to find the corresponding channel

- To check if the add-on stream is working select Preview stream

You will now see a preview of the channel

- Select Save if everything is OK

You must now repeat this for EVERY channel. Occasionaly you will select a channel and the guide will show a message saying two add-ons have this channel; select the add-on you prefer and assign the channel.
You will not be able to assign every single channel as the add-ons don’t have all the channels. What is recommended is to find streams for the missing channels and then save them as a favourite. You can then assign a favourite to a channel by doing the following
- Select a channel

- Select Choose stream

- Select Favourites

- Scroll through your Favourites to find the corresponding stream/channel

- To check if the stream is working select Preview stream

You will now see a preview of the channel

- Select Save if everything is OK

Have fun finding and adding all the channels.